
Searching:
0 results found Back
BackCustom Reports
Custom reports are predefined Axonize reports that provide combinations of data that are not available within user-defined reports.
Note ‒ Custom reports always show either System or Admin in the Created By column. Typically, custom reports are the only type of reports created by a System or Admin user.
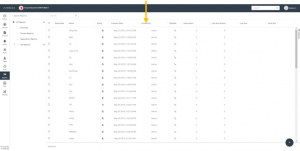
Custom reports work in the same way as other reports. When a custom report is run, it is automatically shared with the entire master application. When running a custom report, the report automatically displays for the relevant entity. For example, when running a custom report that relates to Devices, such as the Previous Month New Devices Report, the report results automatically display in the Devices tab. For example, as shown below.
Axonize provides three custom reports that you can tailor to meet your needs. These reports are –
Readings History Report
This report displays the readings history for multiple Devices or Products.
You can filter this report by date, by device or by product.
Usability Report
This report includes the new entities created in an Application and the total number of entities. The new entities include all Axonize entities, such as Devices, Products, Rules, Users, Dashboards and so on. The Total value represents the total of all entities created to date for the Application. The New value represents the number of entities created during the timeframe specified by the report’s filter (for example, the previous month). For example, if you specify a filter of Last Month, the report shows the total entities created to date including the end of the previous month, as well as the new entities created only during the previous month.
You can only filter this report by date range.
Communication Report
This report displays all the emails and SMSs that were sent in your system during a specified timeframe. This report can be filtered by date.
Configuring a Custom Report
To configure a custom report, define the report’s characteristics and filters. Report filters vary, depending on the type of custom report you select.
As an example, the following describes how to configure a Communication Report. The process for configuring other custom reports is the same.
Note that the Communication Report, the Reading History Report and the Usability Report do not display on screen, and can only be downloaded as an Excel file.
To configure a Communication custom report –
- Click the Reports
 option in the left pane.
 - Click the Add
 button at the bottom right of the window. The New Report window displays.
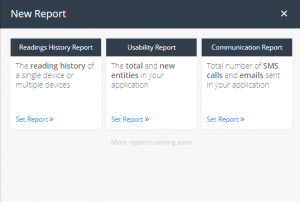
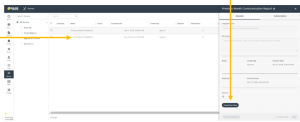
- Click the Set Report option in the Communication Report The following window displays.
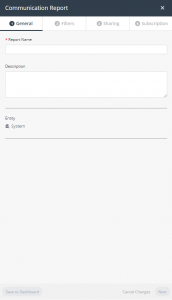
- In the General tab, provide the following information for the report –
-
- Report Name – Specifies a free-text name for the report.
- Description – Provides a description of the report.
- Entity – Specifies the entity(ies) to be included in the report.
- Click Next or click the Filters tab to define the filter(s) for the report. The following window displays.
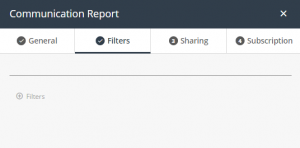
- Click the Filter + button to add a filter. The following window displays.

- Specify the time frame by which to filter the report. You can select either Last Week or Last Month.
- Click Next or click the Sharing tab to define report sharing for this report.

- Define the Application(s) with which to share the report. Define the settings in this tab in the same way as for a standard report, as described in xxx.
- Click Next or click the Subscription tab to define the subscription settings for the report.
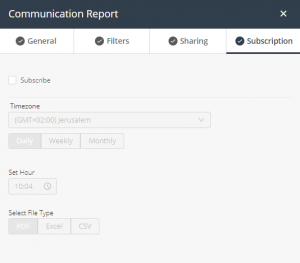
- Define the subscription options for the report. Define the settings in this tab in the same way as for a standard report, as described in xxx.