
Searching:
0 results found Back
BackAxonize CloudGateway™
Axonize CloudGateway™ UI Documentation for SSG Feature
The Axonize CloudGateway™ Self Service Gateway (SSG) feature enables end- users to send their own customized payload from their systems/devices and to let the Axonize system translate this data to the Axonize protocol.
How it works:
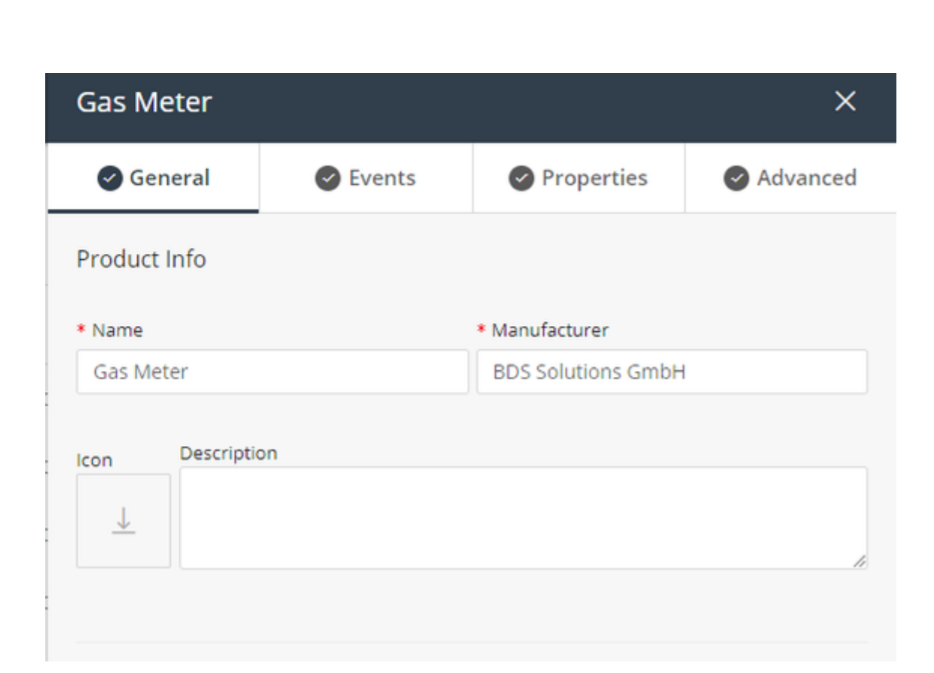
Go to the product page in which you want to define the SSG feature, and choose the ‘Advanced’ tab. If you are unable to see this tab, contact Axonize support so they can enable this feature for you.
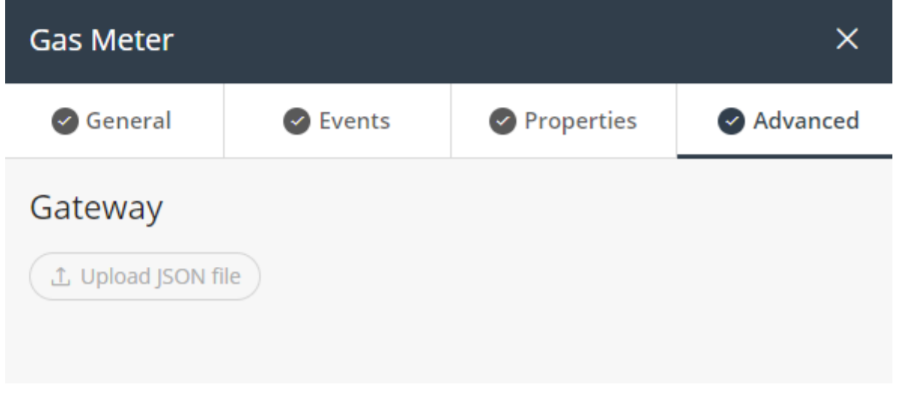
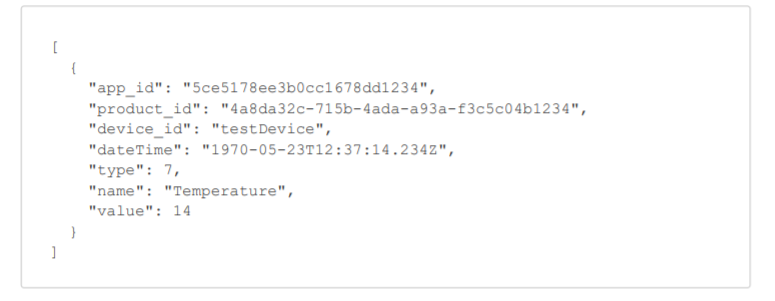
In the Advanced tab you can upload a JSON file. The JSON file should include a payload sample from your device in a valid JSON format.
For example:
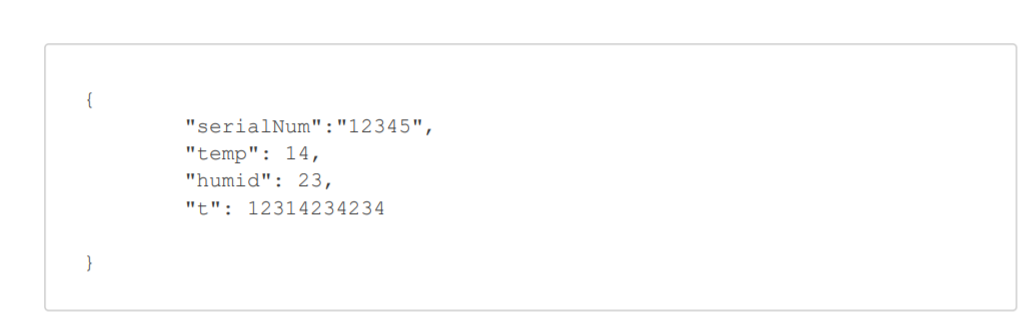
Properties of the JSON structure are taken to build the following form:
(Please note that the property values are not important when building the schema parser, but rather, only the properties themselves.)
Selecting the Communications Protocol:
First you need to select the Protocol that you would like to use to send events to Axonize, currently there are two options in the SSG; HTTP and IoTHub.
Selecting ‘HTTP’ will create a new HTTP listener with DNS,Port and authorization header in the Axonize platform, that will be provided after you hit ‘Save’.
Choosing ‘IoT Hub’ will give you the IoT Hub connection string that you can use to send your data.
Building the Schema Parser:
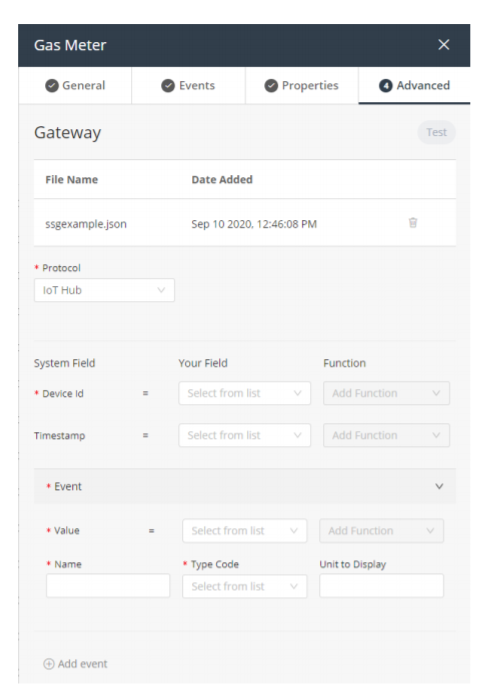
The Schema Parser handles the translation between the incoming JSON payload to the Axonize Event structure. The Axonize event structure consists of the device identifier, the unique identifier of the device that is sending the payload, the time stamp of the message, (not mandatory, but if not defined the time stamp of the event will be the time that it reached the Axonize server,) and the event definition, consisting 4 parameters; name, value, type code and unit.
The name is the event name that will be displayed in the Axonize UI, the value is the event value, the type code is the logical classification of the event and unit is the unit value. Note that unit is not mandatory, and if not provided it will be taken from the default unit that is defined in the type code list.
Once the JSON file is uploaded, it’s properties can be selected in the “your field” column and can then be matched to the system fields described above. Multiple events may be added for the same payload by clicking the ‘+ Add Event’ button.
Adding Predefined functions:
Selecting a predefined function will activate logic on the incoming data. Currently there are five predefined functions:
- Multiply – To multiply the incoming data.
- HexToDec/DecToHex – Convert from hexadecimal to decimal and vise versa.
- Substring – Take only a subset of the incoming value.
- EpochToDateTime, (relevant only for time stamp property) – Convert date time from it’s epoch presentation to its ISO8601 presentation.
Testing your work:
After the schema is defined, it can be tested and you can see whether its parsed correctly by clicking the ‘Test’ button in the top right corner. If it works correctly, you will get the Axonize JSON payload in the response.
See the ‘Parsed test event’ as an example:
If there is something wrong with the schema you will get an error message, or one of the properties in the above JSON will be empty or missing.
Saving your work:
Once you click ‘save’ it will take a few seconds to create the new HTTP gateway or the new IoT hub connection string. When ready, you will get in the SSG for the IoT Hub Connection String or the HTTP gateway details, (DNS,Port, Authorization key).
There are many SSG features that are not exposed in the UI but can be used using the API, for example, adding your own custom function on the incoming data, support in JSON arrays, decode functions on your JSON, (useful for Lorawan) and more.